What’s So Great About Dry-Aged Meat?
You know how yogurt has much more flavor than milk? Or that 3-year old cheese tastes much more complex than fresh cheese? That sourdough bread is more delicious than regular white bread?
We can thank fermentation, ripening and yes, dry-aging, for these flavor bonuses. A lot of these enhanced flavors are due to enzymatic action within the foods we’re fermenting, ripening, or dry-aging.
Here at The Butcher’s Market, we are very proud of our dry-aging program. We hold selected cuts at a precisely controlled temperature and humidity that encourages enzymatic activity and “good bacteria” while inhibiting “bad bacteria,” or ones that could give off-flavors. Think of it like a cheese aging process, but for beef.
The end result is meat that is very tender, very beefy, and unlike any other steak you have ever had.
The tenderness primarily comes from enzymatic action and the breakdown of the collagen in the meat while the concentrated, complex flavors derive both through evaporation of some of the liquid in the meat as well as the work the enzymes do to break down proteins, fats, and carbohydrates into all sorts of tasty compounds, including glutamate, which is what gives rise to that wonderful umami flavor.
How To Cook our House-Made Dry-Aged Ribeyes
Because these steaks are naturally lost moisture during the aging process, take great care not to overcook them. Leave your marinades on the shelf as simple seasoning and cooking to no more than medium rare will ensure you get the most out of your dry-aged steak.
Our butchers will trim your dry-aged ribeye before packaging, but give it a once-over when you get it home. You still may have to trim a bit off a couple of places. Just make very thin slices with a sharp knife until you see white fat and cherry red meat.
Brush the meat with a thin coating of neutral oil, preferably one with a high smoke point such as grapeseed or avocado oil. This helps ensure an even sear and also allows your salt and pepper to adhere to an otherwise dry surface.
Make sure to season right before cooking, give both sides and the edges of the meat a good sear, and finish in a 350F oven for until the internal temperature reaches 122F. Depending on the temperature of the meat when you start cooking, you may not have to put it in the oven at all. Either way, tent with foil after cooking and let rest for 10-15 minutes before slicing and serving.
- Remove meat from the refrigerator a good hour before cooking.
- Heat your oven to 350F. Place a sheet pan fitted with a heatproof flat rack in the center of the oven.
- Heat a cast iron pan over medium-high heat until very hot, about 8-10 minutes.
- Brush the surface of the meat with a thin coating of grapeseed or avocado oil.
- Right before placing in the pan, season the meat liberally with kosher salt and black pepper.
- Sear 2 ½ minutes per side. Don’t move the steaks once you put them in the pan to allow a nice crust to form. Turn the meat with tongs.
- Sear the edges of the meat about 30-45 seconds per edge, just enough that the Maillard reactions can build up some complex flavors.
- Check the internal temperature of the meat. If it is 122F, you’re done. If not, place the meat on the rack and check the internal temperature every couple of minutes. Remember, you do not want to overcook this meat, so make sure you’re using an accurate instant read thermometer. Unless you are a seasoned pro, now is not the time to rely on the “hand test.”
- Once the meat reaches 122F, remove to a heated plate, tent with foil, and let rest for 10-15 minutes before slicing and serving.
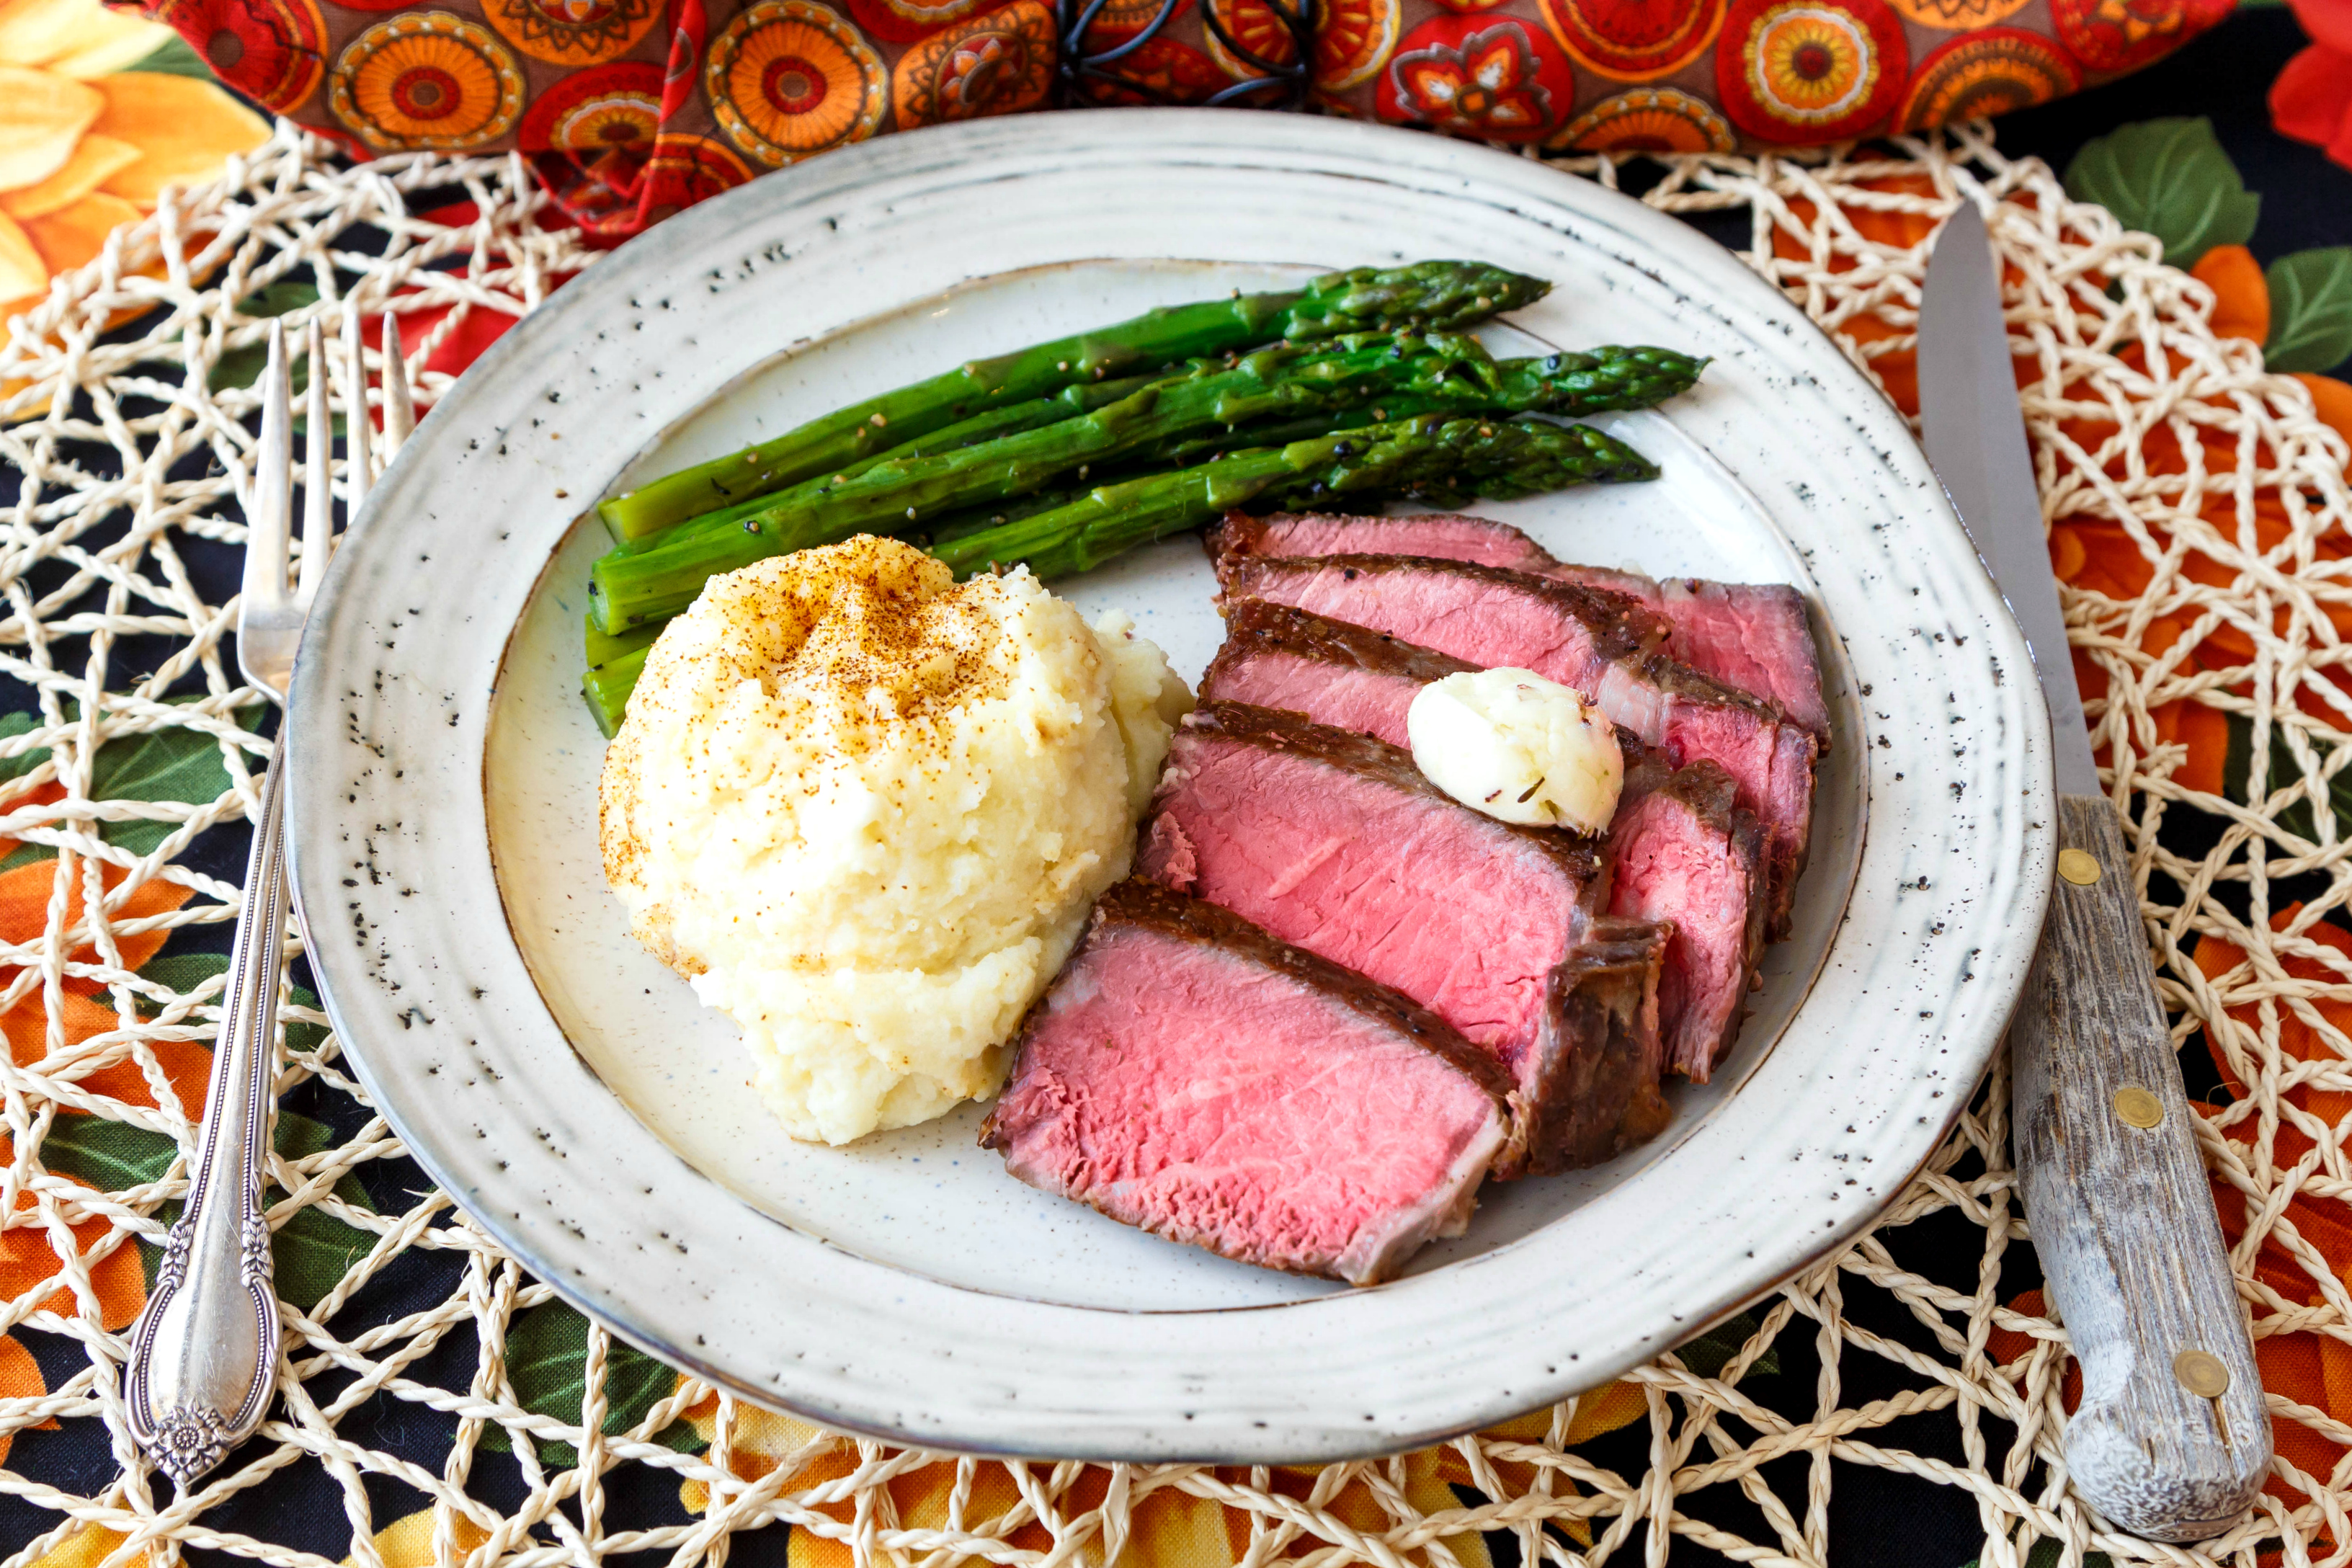
Pictured: Pan seared, oven-finished in-house boneless dry-aged ribeye with compound butter, mashed potatoes, and asparagus marinated in olive oil, salt, and pepper, all available at The Butcher’s Market.
Jenni Field, Pastry Chef Online